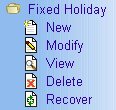
- To create a new Fixed Holiday file, expand the System Maintenance folder,
expand the Fixed Holiday folder and click New.
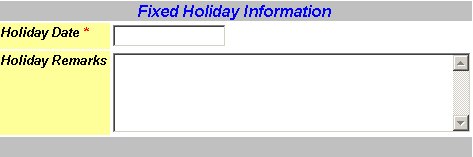
A blank form will appear. The form consists of the following fields;
Holiday Date and Holiday Remarks. A sample of New Fixed Holiday Information form is shown below.
- Move your cursor until it is over the Holiday Date field.
This is a required field. Once it is over it, click your left mouse button.
You should see a vertical blinking line inside that text box.
Start typing your desired Holiday Date using your keyboard. Type only the
Month and Date. If you have placed the year, the system
will automatically remove the year since the fixed holidays are celebrated annually. So, no
need to type the year. Once finished, press TAB or click on the next field.
The following Holiday Date formats you can use are;
- On the Holiday Remarks field, type the description of the
holiday or it can be left unfilled since it is an optional field.
- If you want to clear all you have entered, just move your
mouse over the Clear button and press your left mouse button.
- Once you are sure about your entries, simply move your cursor over
the Save button and press your left mouse button. A confirmation will appear
either the action taken was a success
or an error has occurred.
- Click the Cancel button to exit the operation and return to the welcome page
or main menu.
- Click the Help button to bring out the help guide for the current page.
|